Tech Hub
Google Play Developer API: How to Create a Service Account
May 4, 2022
Posted by: Rahul Upadhyay
.png)
Why am I reading this?
- Mobile applications are surrounded by so many modules in addition to that, the IN-APP Purchase and Subscriptions play a good amount of role, where you as an owner of the app, can generate revenue by selling consumable and non-consumable goods such as Coins for Games, Subscription plans for your app many things.
- Now, as you are selling some goods on your app, there must be a way to validate that purchase or get the details. But obviously, you can do it from the app itself as Google does provide SDK for the same. (SDK – Software Development Kit). But, we are living in a world where Android and iOS exist and are in a very competitive market!
- Google Play Developer API gives us the power to check the user’s transaction from the RESTful APIs which leads you to read this blog.
- With the RESTful API, we can do this call from the BACKEND and leave the app standalone and do other stuff
Offering
Google Play Developer API lets you manage the 2 main components in your project
- The Publishing API lets you upload and publish apps, and perform other publishing-related tasks.
- The Subscription and IN-APP Purchase API lets you manage in-app purchases and subscriptions. [We are going to explore these APIs]
Objective
To verify the Google In-App Purchase and Subscriptions (IAP)
Requirements
- Google Play Developer Console Access
- Google Cloud Console Access
Tip: If you already have an existing project over Google Cloud Console then it should be using the same google account you used for the Google Play Console. If you have a different account setup then there are specific steps and roles with which we can achieve this.
Here are the main steps we are focusing on:
- Set up a new or existing Google Clod Project
- User, a service account to access the Google Play Developer API
- Access the RESTful APIs for analyzing the app
Let's Start
Linking your account and project
Before you can access the Google Play Developer API, you must link your Google Play Developer Account to a Google Cloud Project. In most cases, we recommend that you create a new Google Cloud Project dedicated to your Google Play Developer Account, but you can link an existing project. Keep in mind that each Google Play Developer Account can only be linked to a single Google Cloud Project. If you have multiple apps in the same Google Play Developer Account, they all must share the same Google Cloud Project.
Access Google Play Developer Console
- Log In to Google Play Developer Console Play Console (google.com)
- Select your account
.png)
- On the side navigation menu, select Setup>AP Access
.png)
- Agree with API terms of service (Just follow on-screen instructions if any).
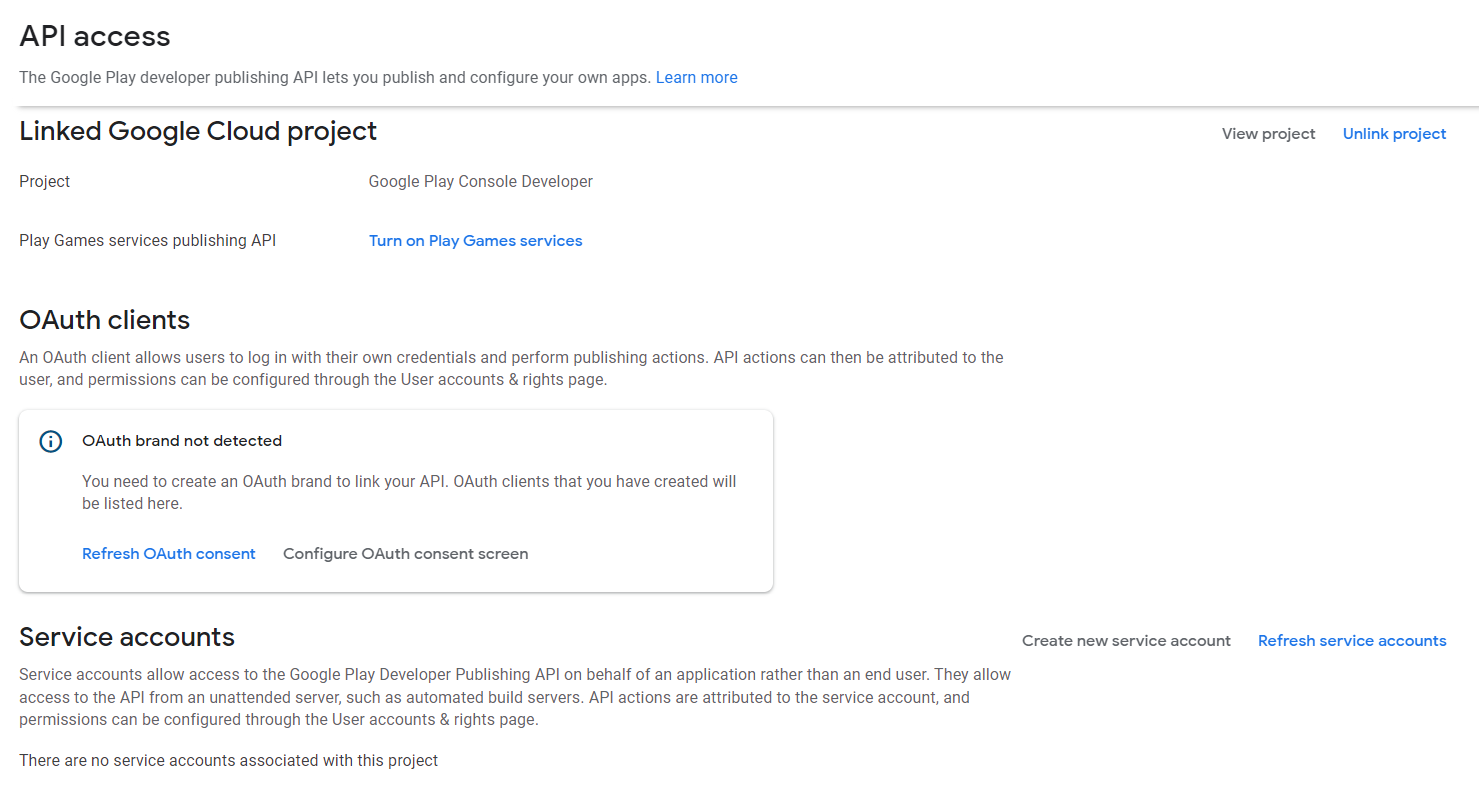
- Once done, you will be seeing options to link your existing project or create a new project.
.png)
- If you already have a Google Cloud Project then you can Link that project or you can create a new project.
-
Link existing project
.png)
- Select the existing project by clicking on Choose Project dropdown menu If your project isn’t listed, verify that your Google Play Console account is with the role OWNER and Google Play Developer API is enabled for the project. If not then you can do it quickly by following, how to do it?
.png)
- Select the project and click on the SAVE button
.png)
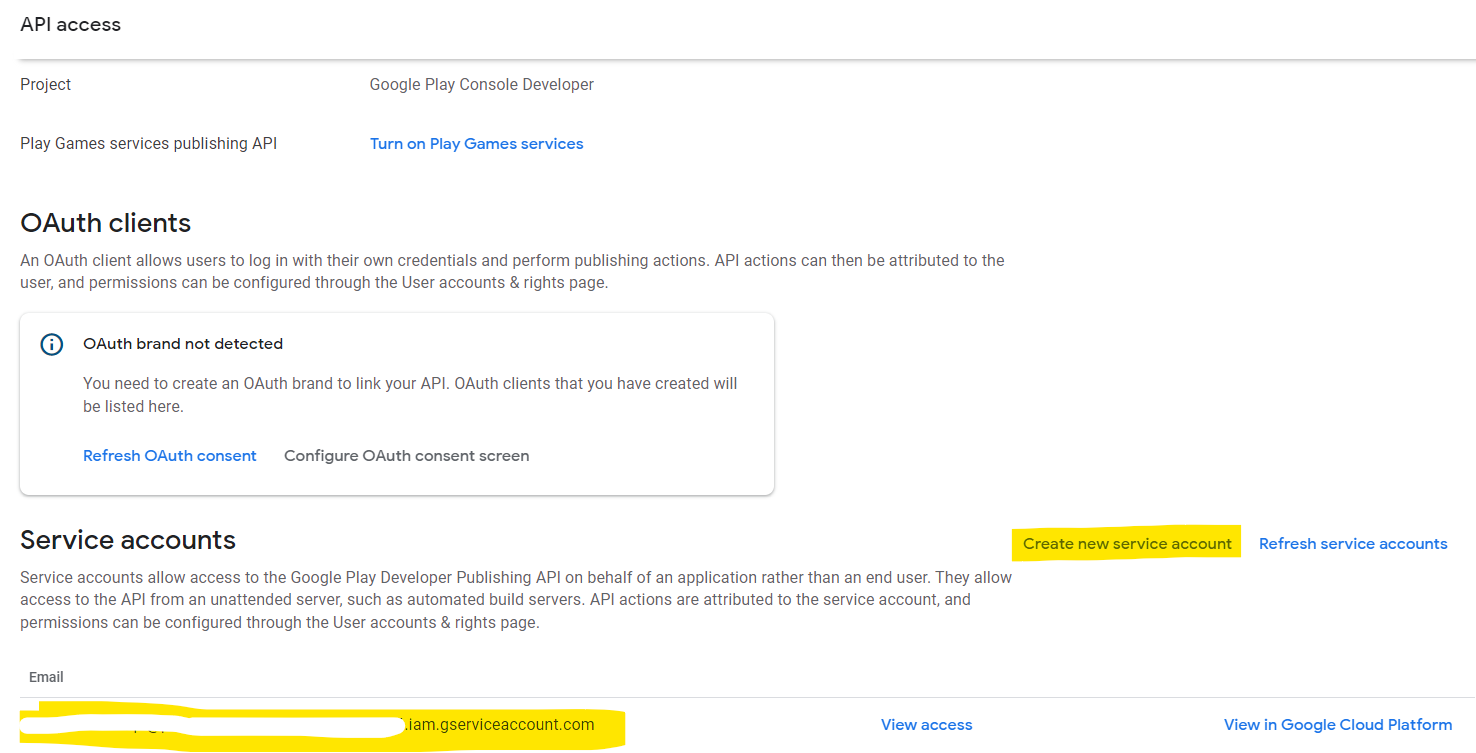
- You will be seeing a page like this. We need to work on the Service Accounts section. If you already have a service account then you will be seeing it listed. If not then we will create a new service account.
- Select the project and click on the SAVE button
- Select the existing project by clicking on Choose Project dropdown menu If your project isn’t listed, verify that your Google Play Console account is with the role OWNER and Google Play Developer API is enabled for the project. If not then you can do it quickly by following, how to do it?
-
Create New Project
- Select the option Create New Project and click the SAVE button
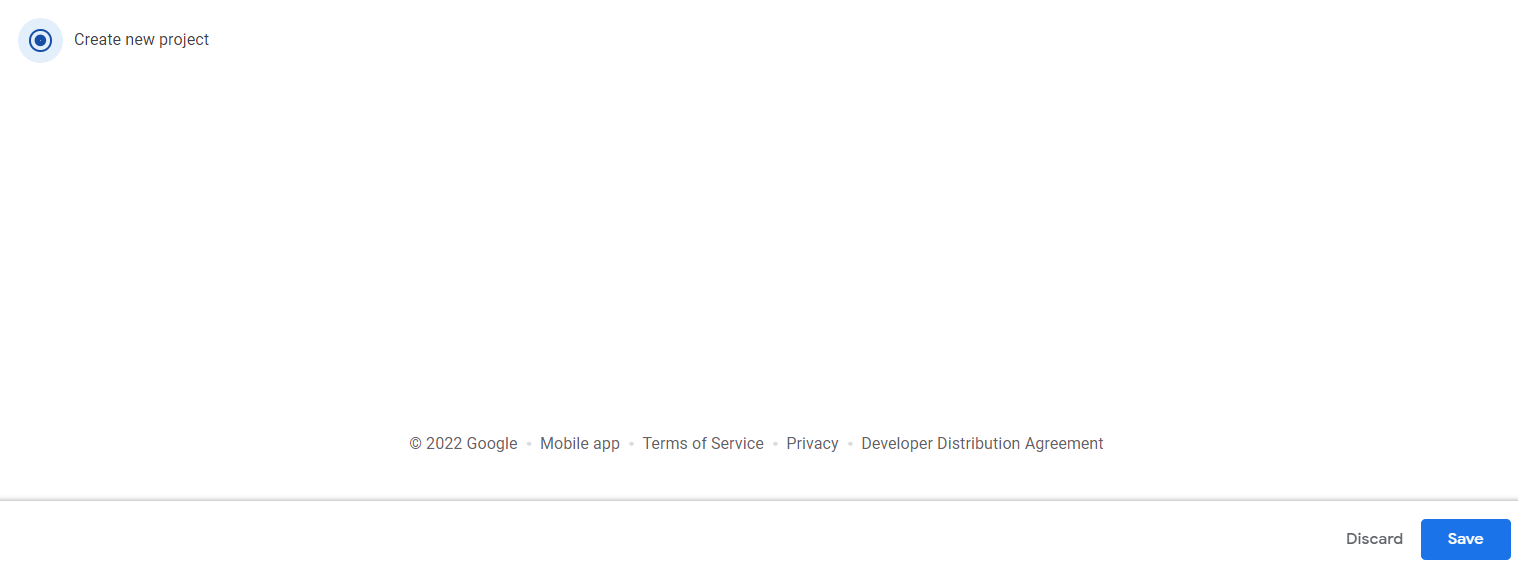
- A new project will be created and you can see that project below
- We can edit the project name later from the Google Developer Console.
- A new project will be created and you can see that project below
- Select the option Create New Project and click the SAVE button
-
Configure Service Accounts
Most common secure software service which will access the API.
Service accounts must be used in a secure environment, such as your server. The service account credentials need to be securely managed so they are not revealed to anyone that is not authorized to use the API.
Once we have project linked or created, our main goal is to Create new Service Account or give an access to already created service account.
-
Create a new service account
.png)
- Read the instruction once you click this button, "CREATE NEW SERVICE ACCOUNT"
.png)
- Click on the option #1, Go to the Google Cloud Platform and open that URL in the new tab
- Now, you are on the Google Console
.png)
- Click on the CREATE SERVICE ACCOUNT and follow the next step
.png)
- Name your service account and provide the description. No need to alter the 2nd field
.png)
- Click on CREATE AND CONTINUE. Here we need to defile ROLE to this SERVICE ACCOUNT
.png)
- Search for Service Account Admin and click on the role
.png)
- Once selected, click on CONTINUE
.png)
- We are not doing anything in the 3rd step, just click DONE
.png)
- Your service account has been created and listed on the same page
.png)
- Select the account and switch to the "KEYS" tab. We are going to add a new key to this service account.
.png)
- Click on ADD KEY and select CREATE NEW KEY
.png)
- Select the Key type as JSON and click on the CREATE
.png)
- The key will be created and will ask you to download it. Save the file as it is. We will need this for the development and ask you to provide that. Close this dialogue box.
.png)
- You can see the created key listed on the page
.png)
- Read the instruction once you click this button, "CREATE NEW SERVICE ACCOUNT"
-
Grant access to the Service Account
- Now, go back to the PLAY CONSOLE PAGE, #7.a from this document. And click on DONE. You will see the newly created service account under the SERVICE ACCOUNTS section
- Click on the GRANT ACCESS (from step 8) and you will be seeing the following screen
.png)
- Check these 2 boxes, click on the INVITE USER
.png)
select SEND INVITATION on the confirmation box.png)
- Once done, you will see this screen with the new service account added as a User. If not then please Enable Google Play Developer API.
.png)
- Now, go back to the PLAY CONSOLE PAGE, #7.a from this document. And click on DONE. You will see the newly created service account under the SERVICE ACCOUNTS section
Enable Google Play Developer API
Need to enable Google Play Developer API from the Google Cloud Console. Open the Google Cloud Console which you already have opened in the step Create a new service account #c
- Click on the Hamburger menu, select APIs & Services > Library
.png)
- Search for "Google Play Android Developer API" and click the searched result
.png)
- Enable this API. Once enabled
.png)
- Once done you will be able to see the Service Account listed in step Grant access to the Service Account #d
Hope you have fun reading this blog and heading towards getting a coffee. Happy setting up. Let me know your thoughts, and questions in the comments section below.
Thank you.
References:
Back